Account Settings
This section defines the general settings for this account.
Information
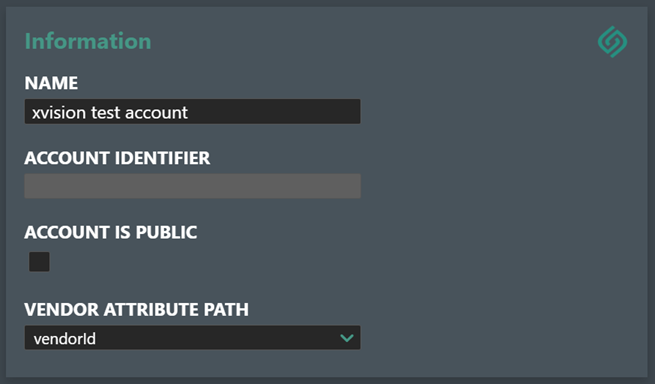
Name - Here you can set or change the corporate account name by editing the "Name" field.
Change Account Avatar - You can add or change the company logo by selecting a new image by clicking on the Avatar picture in the top right hand corner. Click on the "Choose File" or equivalent based on your computer language settings and use the file dialog to select a new Avatar logo image. Most common image format are supported.
![]()
The selected file will then be uploaded and converted.
Account Identifier - The Account Identifier is a unique name that is set up for your company when the account is created. This is used to designate your account meta data definitions so they can be mapped and made compatible with metadata according to standard definitions and for when you will be collaborating with other partners or using 3rd party integrations. This field is not editable.
Account is Public - Check this box to make this a public account so will be visible for any other accounts defined in the tenant.
Vendor Attribute Path - The API also supports the “vendorAttributes” attribute for assigning unique identifier. If you would rather employ this for auto inheritance, then you can specify this here under the “General Tab”. If you have programmatically defined “vendorAttributes” it will show up in the drop-down list, and you select it here to override the default setting of “vendorID”. This is new from version 1.4 of the API.
Account Logs
This section will allow you to query and display the log events for your account.
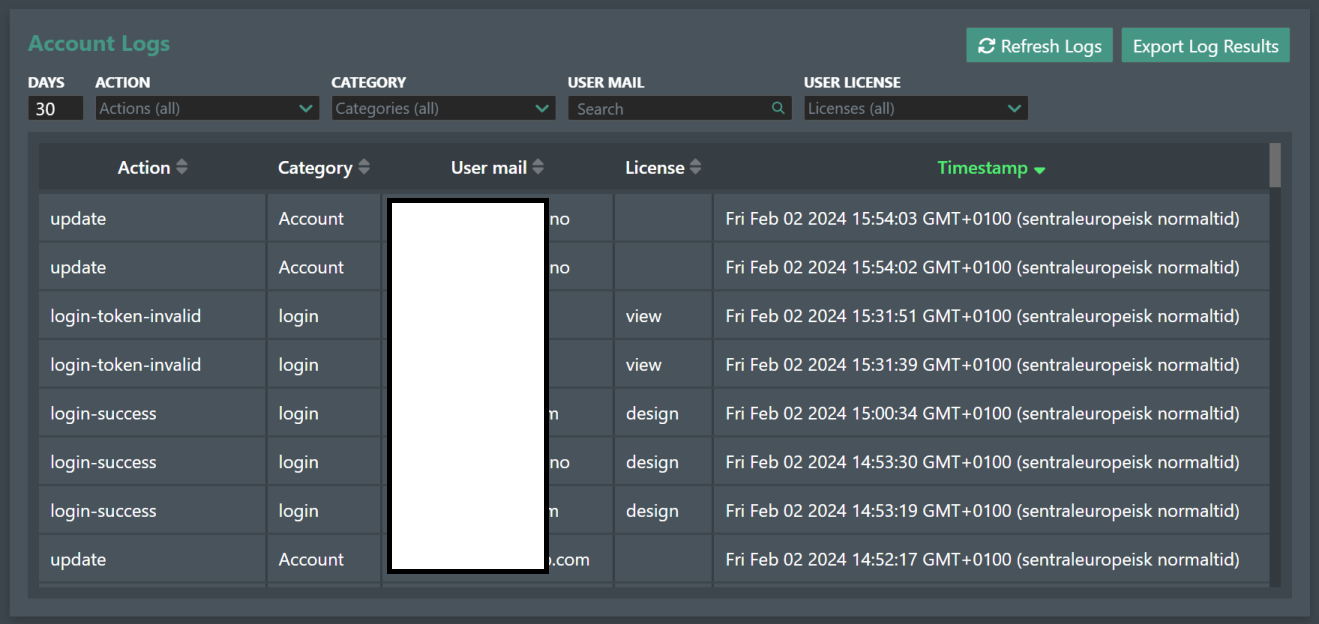
Refresh Logs - Press this button to refresh the account log for the specified number of days entered in the Days field. Default is 30 days.
Export log result - Press this button to export the log out in TSV (Tab Separated Values) format.
You can filter your log result by using the following filters:
-
Action - This will display a drop down list of log event tags to help you narrow down the log. Select any of the following "create", "delete", "login-token-invalid", "login-sso-user-not-found", "login-success, "login-sso-denied", and "update". Note! Depending on the recent log activity only the relevant log-events will be displayed in the drop down list.
-
Categories - Select from "login", "Account", and "Metadata group link" to filter by these categories.
-
User email - When you start to enter a specific email address the log results will automatically be filtered to show only the corresponding log entries.
-
User license - Select the license type(s) you want and the log results will automatically be filtered to show only the corresponding log entries.
The table below will display the results. You can click on any of the column headers to sort them in the reverse order.
- Timestamp - Displays the timestamp (Date/Time) of the logged event.
API tokens
Use the Create API Token button to create a unique API token for your account that must be used for communicating with the FieldTwin REST API for integration and/or development work.
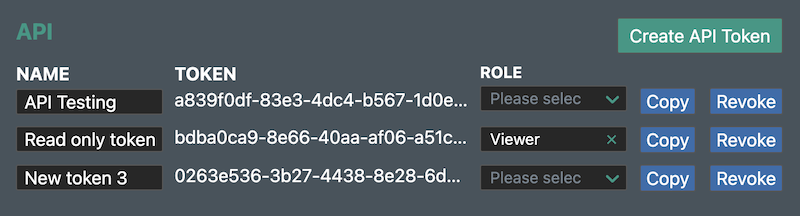
Name - You can add a descriptive name to each key to better identify the various keys you create and distribute.
Token - This is the assigned unique token value.
Role - Optional user role to restrict the token permissions. Note! See the description of permissions below.
Copy - Click this button to copy the API key to the clipboard.
Revoke - Click this button if you wish to revoke a token. A dialog will prompt you for confirmation.
You can then e.g. issue a GET query to your dedicated instance backend for the logs with the header information comprised of the token you just generated and with the Content-Type set to "application/json".
Token permissions with or without a role:
- Without a role - full permission to read, write and delete all project data in the account, the account configuration, and to generate JWT tokens.
- With a role - the role determines the readable and writeable project data, the account configuration is read-only, and JWTs cannot be generated.
For more information about using the API, please see the API Documentation.
Import/export
This section allows you to Import/Export various data objects from one FieldTwin instance to another e.g. Metadata, Connections, Connection-Types or Project data. This is useful if you need to allow a partner or a customer to work on the project. This functionality works in a "click-zip-ship" fashion.
Export
Action - Select either Import or Export as the action you want to perform.
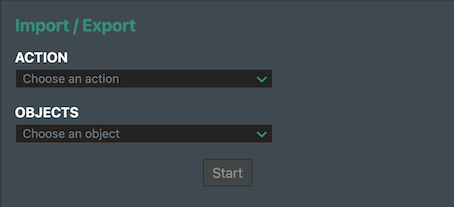
Objects - Select your preferred object to import/ export from the objects menu:
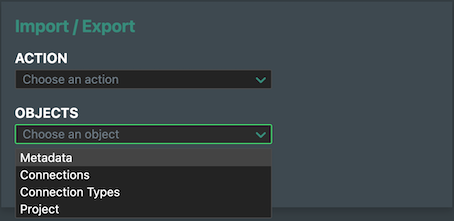
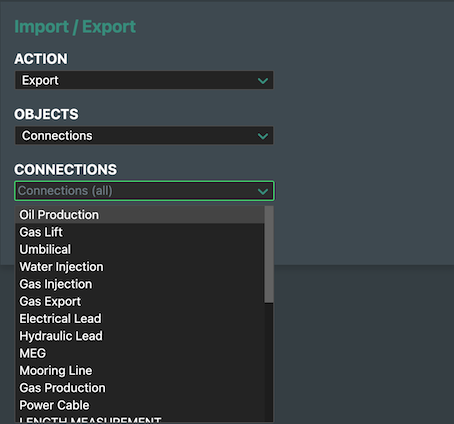
Connections - If you select connections, you can select all or an individual connection from the drop-down list:
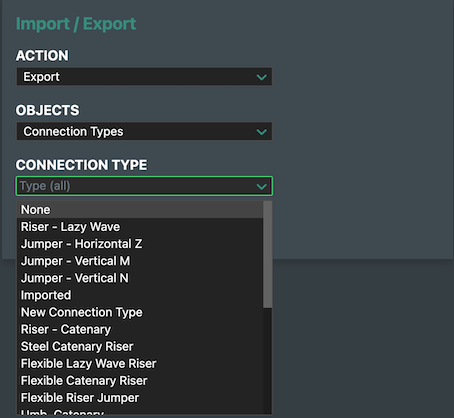
Connection Type - If you select connection type, you will need to select a type from the drop-down list:
Project - Select this to import or export an entire project. This will present the following options:
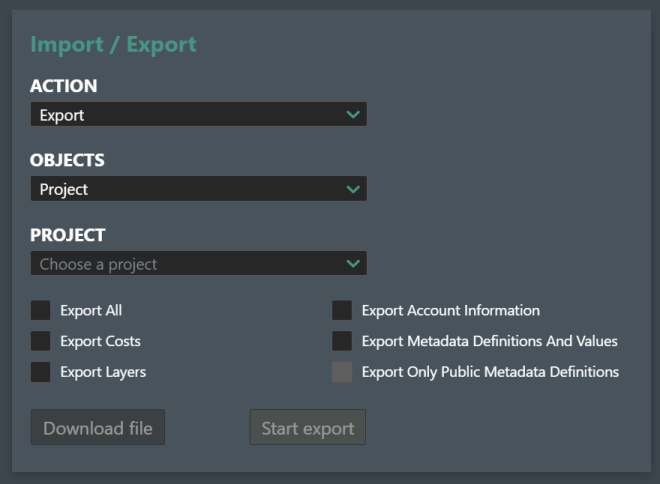
Select the project you want from the drop-down list of all projects in the account, and then select one or more of the following project specific options.
Export All - Check this option to export the entire project with all data objects.
Export Costs - Select this option to include the export of any cost data.
Export Layers - Check this option to include the Layer data.
Export Account Information - Check this option to include the account information.
Export Metadata Definitions and Values - Check this option to include Metadata and associated values.
Export Only Public Metadata Definitions and Values - Use this option if you do not want to export Metadata that has been marked as private.
Finally click on the Start Export button.
This will start gather all the data and make it ready for download. The data will be saved into a zip archive and a Download option will appear when ready. Click this button and the ZIP archive named "Project" with projectID appended will be saved in your Download folder.
Import
If you receive a FieldTwin Zip archive, then you can import it into your account. This is using the same option selection set as described for the Export option above. Make your Object selection first as described earlier. When ready press the Start Import button. This will present a file dialog according to your language settings allowing you to select the project data zip archive you have received:
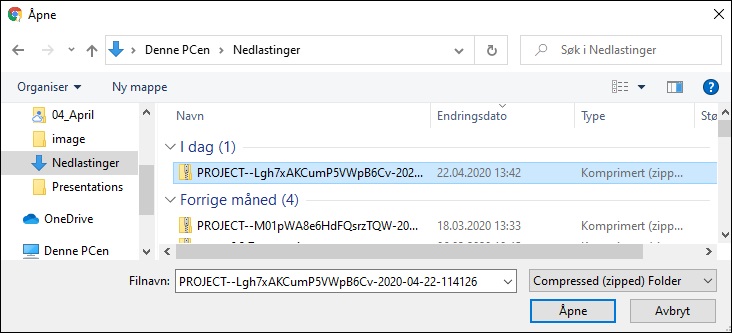
This will then upload the FieldTwin project data selected into your account.
Configuration
WMS
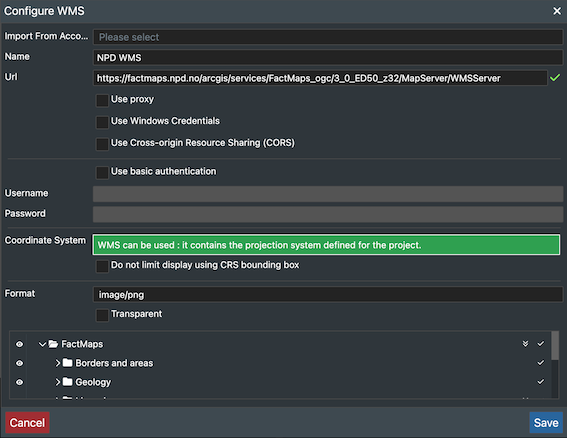
Here you or your mapping department can preconfigure the setup of different external/internal WMS servers (Mapping servers such as ArcGis) for your users so when they create new projects, they do not have to configure it first.
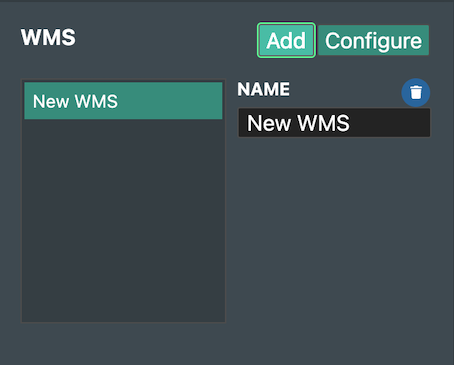
Click on the ADD button to get started. Then click on the Configure button.
As you can see above, we create a default configuration for the Norwegian Petroleum Directorate open WMS map service named Norwegian Petroleum Directorate WMS. Region.
Delete - The Delete button will delete the selected WMS configuration. You will be prompted to confirm as this option is not reversible.
For information on configuring the various WMS options, please see please see Configure WMS
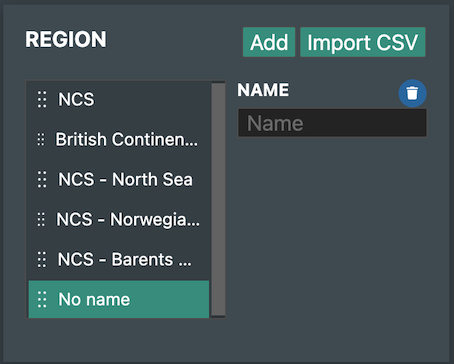
Region
As a system administrator you can define the list of Regions. They can be added using the +ADD and +import CSV. The items in the list can be dragged up and down to adjust the order.
Customer
As a system administrator you can define the list of Customers. They can be added using the +ADD and +import CSV. The items in the list can be dragged up and down to adjust the order.

Customer is internal to the company - Check this option if you are collaborating with Customer that is trusted and you can then invite anyone from internal users and alliance users.
Customer is part of an Alliance With the Company - Check this option if you are collaborating with another company e.g. in an alliance and by checking this option that company if added to the Customer list can then be invited into your internal projects.
Global - Check this box if this customer is a global one, which means it will show up in all defined Accounts.
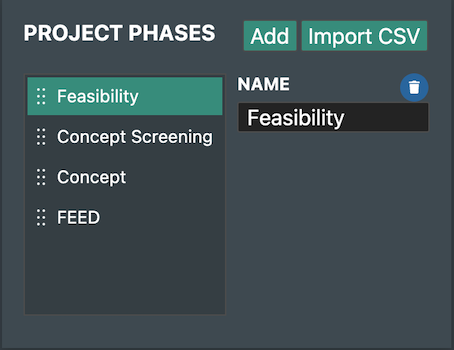
Project Phases
As a system administrator you can define the list of project phases. They can be added using the +ADD and +import CSV. The items in the list can be dragged up and down to adjust the order.
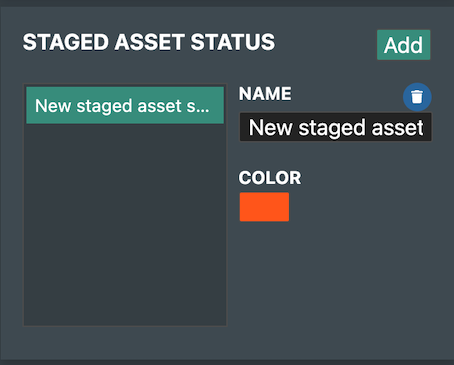
Staged Asset Status
The staged asset status can be named and colour given, to help visualise this status. They can be added using the +ADD. The items in the list can be dragged up and down to adjust the order.
ARCGIS Online Portal
As a system administrator you can define the list of ARCGIS Online Portals. They can be added using the +ADD. The items in the list can be dragged up and down to adjust the order.

Client ID - Fill in your client ID information
Portal Url - Enter the ArcGIS Portal URL in this field.
Server Url Match - Enter the ArcGIS server URL in this field.